I lurk on quite a few different crochet oriented pages/groups on facebook to get ideas for technical thursdays, and one of the things I've been seeing pop up a lot is "How do I work with ruffle/sashay/starbella/this weird yarn?"
Now, I own a single pair of knitting needles, but I am a hooker at heart ;) So I use a crochet method to make my ruffle scarves :)
So this week I'll be talking about options for ruffle yarn, how to use it properly, and helpful hints.
First things first- what are you going to use it for? You can make a scarf, or add ruffles to a skirt, or even the cuffs of a long sweater. Or you can use it as a plain, slightly flat super chunky weight yarn to make just about anything. For our purposes, we're going to say that we didn't spend $5 on 30 yards of super bulky yarn and are going to use it for ruffles.
One of the main problems people have with ruffle yarn is using it as intended, spreading it out into it's ruffle form as they work. It takes a very coordinated hand to hold, feed and spread at the same time. There is a very easy solution for this problem, but it does add to your time totals- a toilet paper roll :) Simply take 15 minutes and gently flatten it out as you roll it onto the tube and then you're ready to go :)

I've rerolled my yarn and am ready to work with it now ;)

Yes, the pictures are out of order. But now that we're ready to work, which side do we use? Hmm, maybe that side with the thick edge and sparkles wove in! Nope. Actually, we work in the second row of loops from the top, opposite the sparkly edge.

How to make a 1 skein ruffle scarf using a crochet hook


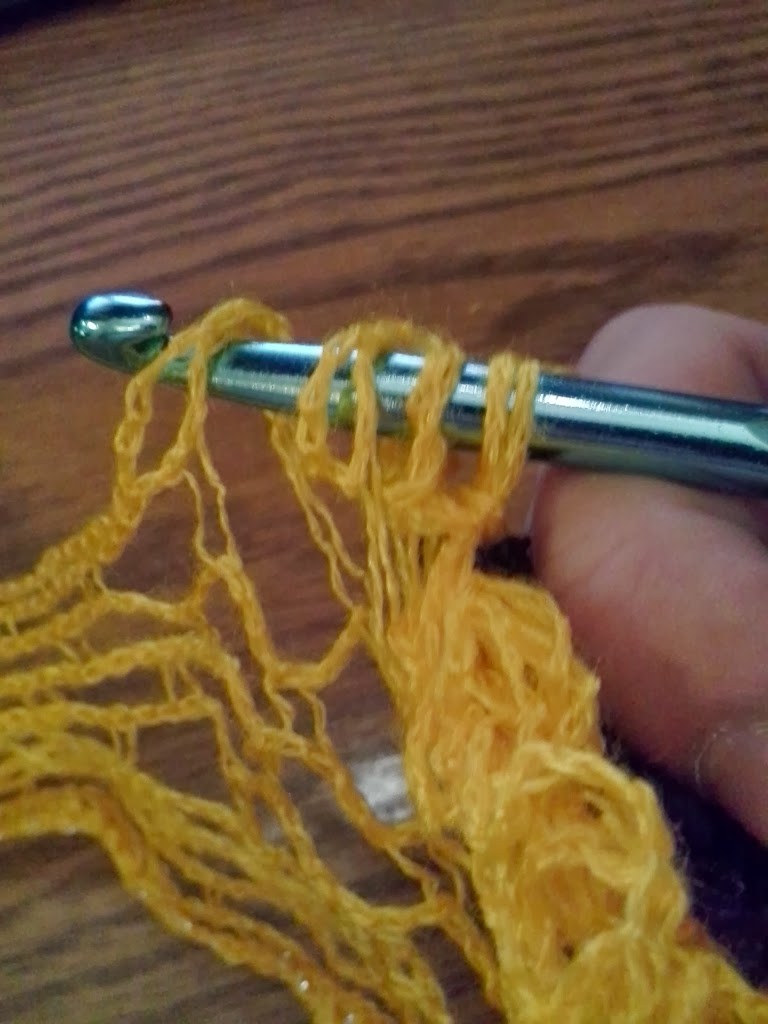
Once you've got the desired number of loops on the hook, stick your hook in the next "hole" and perform a slip stitch.
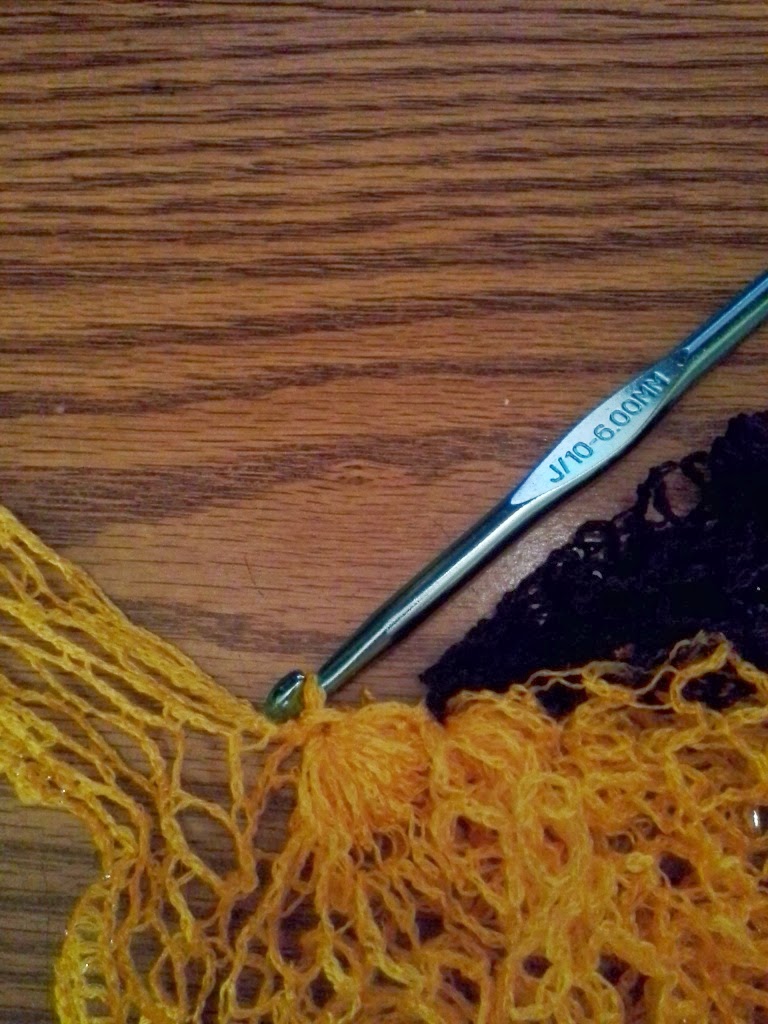

Got a knot? Gently untie it if you can, and do a slip stitch to hold both ends together as you continue to work on the scarf. Or, if you're so inclined, you can leave it knotted and work over it, it'll disappear into the ruffles(usually- there's always the wicked knot/ball determined to prove me wrong, but on a general basis, it works).
No comments:
Post a Comment